In martial arts, you do not start by fighting. You start with forms. Slow, precise, repetitive movements done over and over until they become part of your body. A karate student practices a kata hundreds of times before they ever use a single technique in sparring. The movements become instinct. The body remembers even when the mind is not thinking.
That is exactly what these drills are. They are your disc kata.
Every drill in this chapter has one thing in common: you never release the disc. It stays in your hand the entire time. You are building strength, flexibility, muscle memory, and an intimate familiarity with how the disc feels in your grip. Before you ever throw to a target or chase down a pull, your hands need to know the disc like a guitarist knows the neck of their instrument.
As you learn these drills, I want you to do two things. First, practice in front of a mirror or film yourself. Watching your own form accelerates learning dramatically. You will see what looks crisp and what looks sloppy. Second, create your own choreography. String the drills together into a flowing sequence. Hula Hoop into Eagle Slash into Behind the Back into Hammer Slash. Make it yours. Make it fun. The more fun you make it, the more you will do it. And the more you do it, the more fluid you become with a disc in your hands.
Let's start with the most important drill in this entire book.
The Hula Hoop Drill
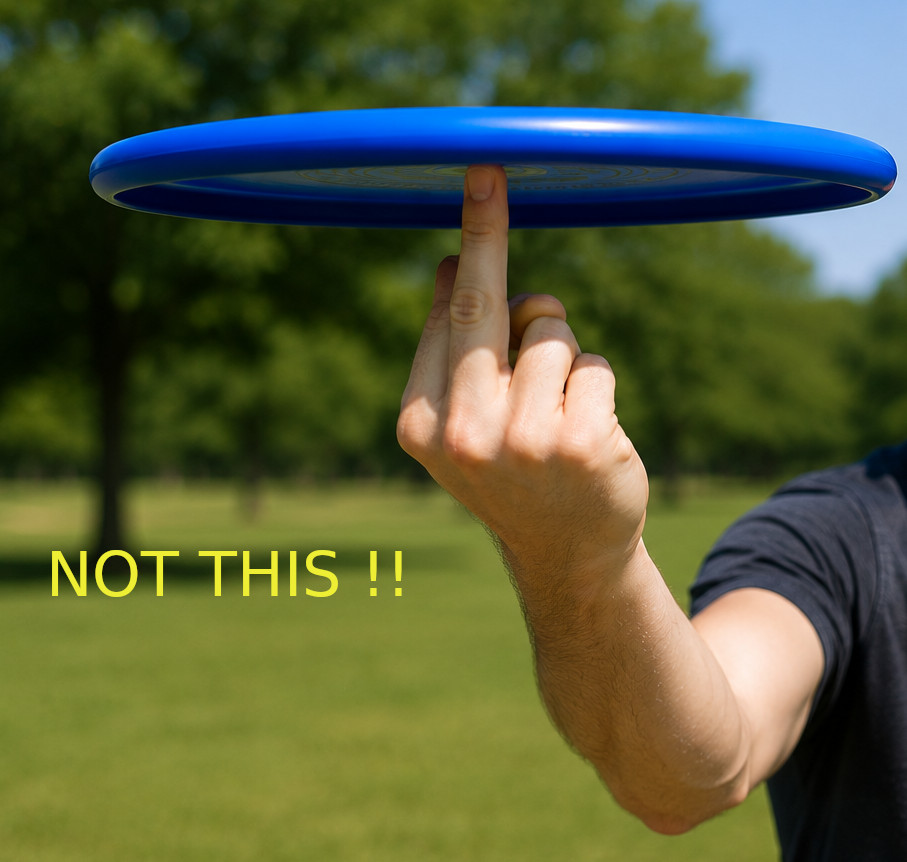
This is it. If you only do one drill from this entire book, do this one.
I can tell how good a person's flick is by how long they can hula hoop the disc on their middle finger. There is a direct, observable correlation between someone's ability to sustain and control the disc spinning on their middle finger and how well they can produce spin and control on a forehand flick. I have tested this with dozens of players. The elite handlers who throw lasers across the field? They can hula hoop the disc with ease. The beginners whose flicks wobble and die? They cannot keep it going for more than a few seconds.
Nobody has ever written this down as a formal assessment tool, but I believe it should be. The Hula Hoop Drill is both a diagnostic and a prescription. It tells you where you are. And it gets you where you want to go.
What the Hula Hoop Drill Builds
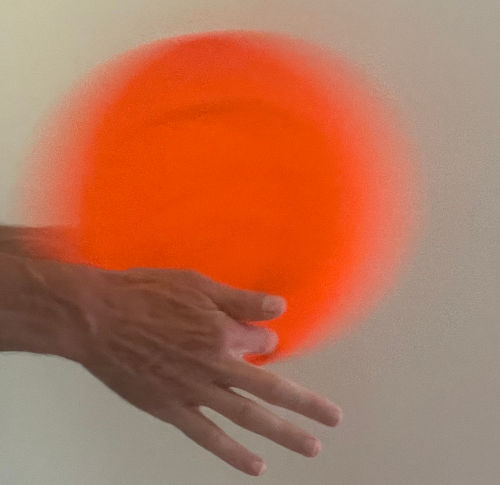
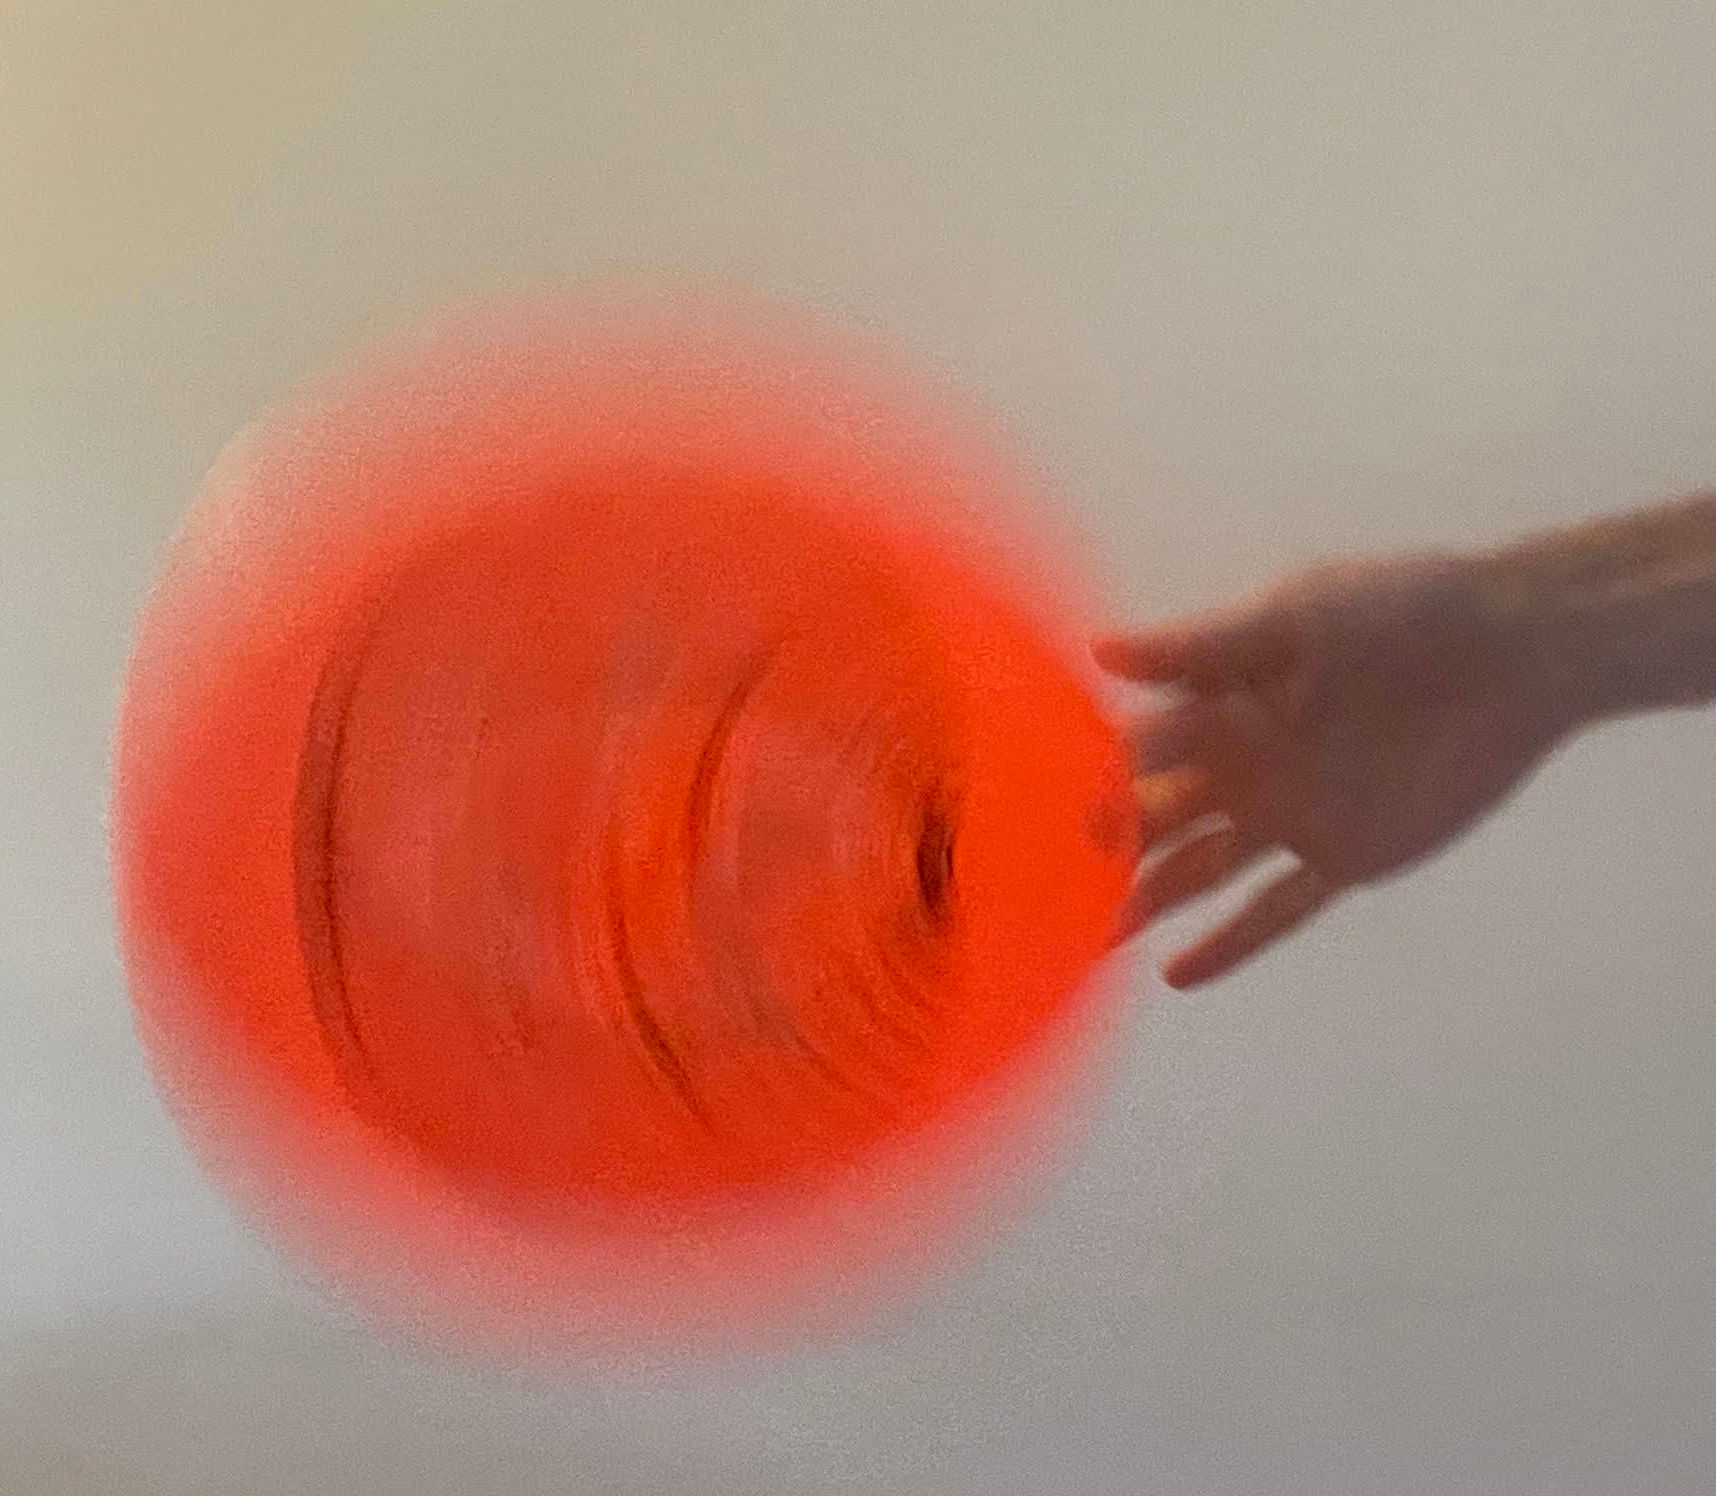
When the disc spins on its rim around your finger, it creates a centripetal force on that one specific finger unlike anything else you can do. That force targets the exact muscle fibers in your finger, wrist, and forearm that power the flick forehand. And by extension, the hammer and scoober.
It is easy at first. But try to keep it spinning for 60 seconds. Then 120 seconds. Then five minutes. You will feel the burn in your finger, in your wrist, and all the way up your forearm. That burn is muscle fibers being stressed and strengthened in precisely the way that translates to throwing power and spin.
But the Hula Hoop Drill does more than build strength. Every second the disc is spinning, you are negotiating with it. The disc wants to wobble. It wants to escape your control. And you are constantly correcting, adjusting, feeling the spin in real time. That gives you more touch points with the disc than any other drill. And those touch points build a comfort and familiarity that directly translates to being more solid and more confident when you are actually throwing to somebody in a game.
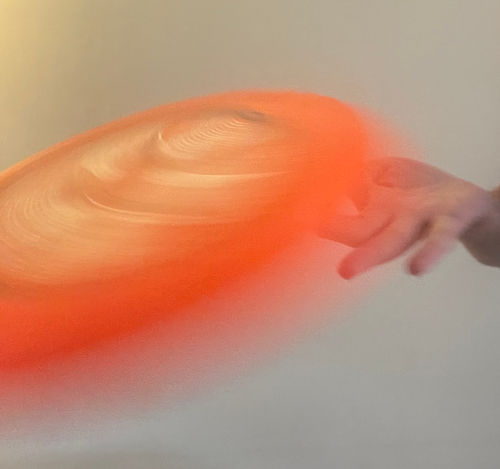
Important: This Is About the Rim
A lot of people hear "spin the disc on your finger" and think of spinning it flat at the center, like spinning a basketball. That is not what this is. The Hula Hoop Drill is all about the rim. The rim of the disc hula hoops around your finger, just like a hula hoop spins around your waist.
Level 1: The Thumb (Learning the Motion)
Start here. The thumb is your strongest finger and it is short, which makes it the easiest to learn on.
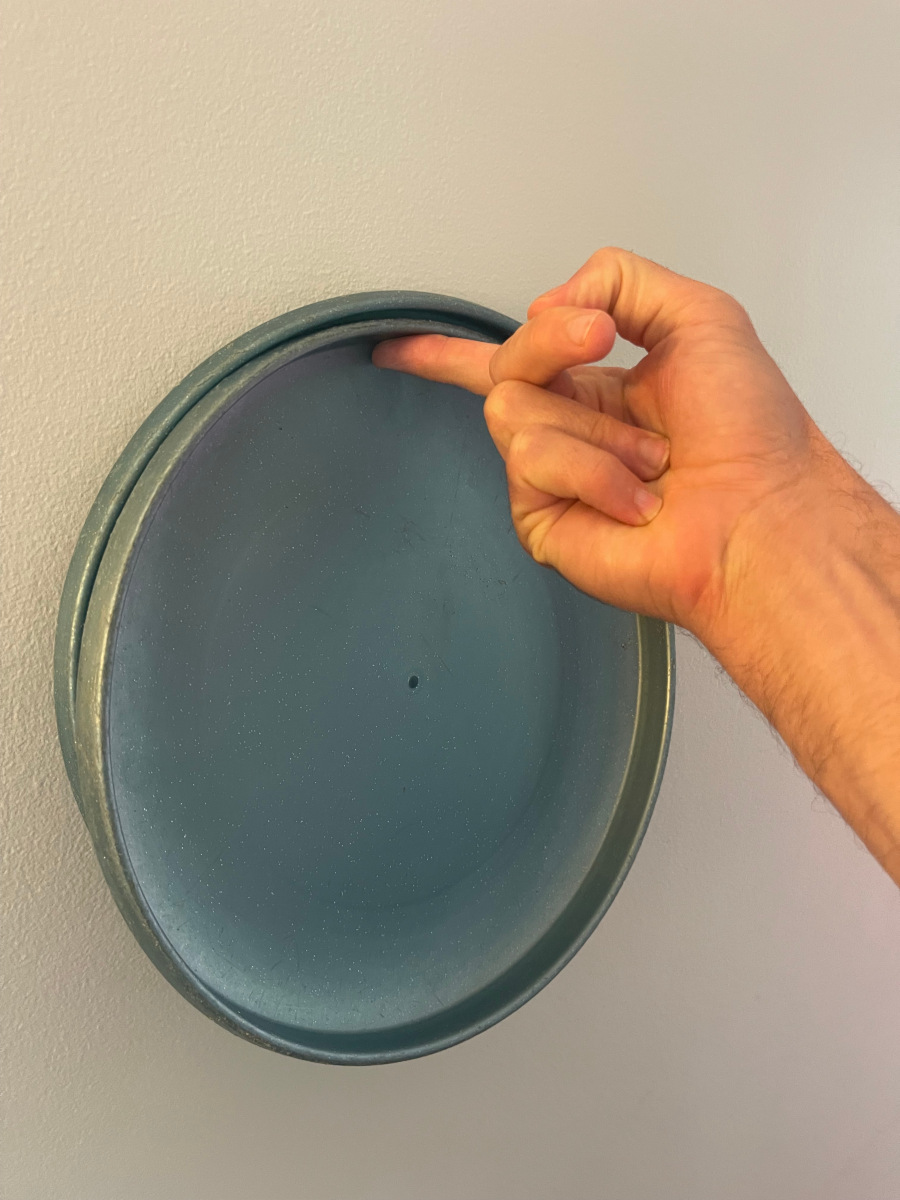
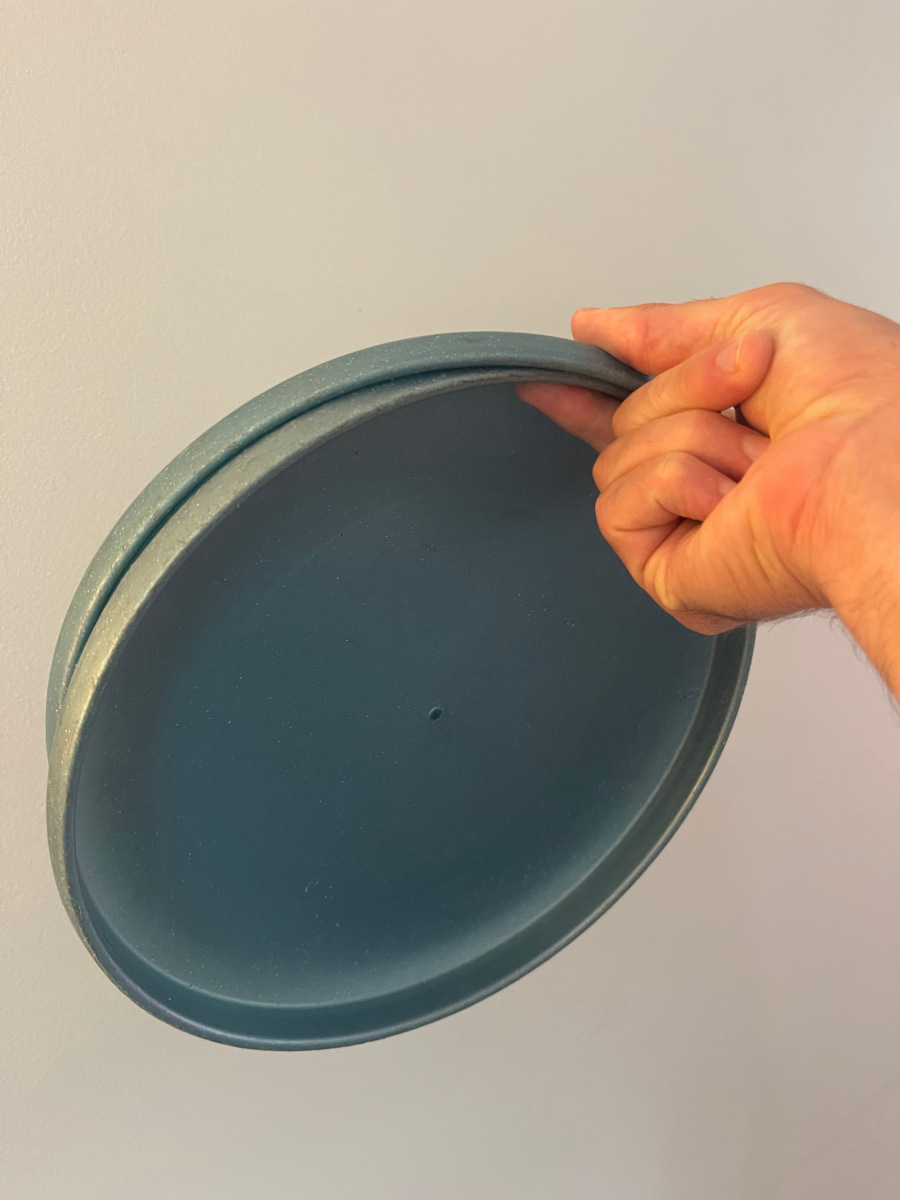
Step 1: Stick your thumb up like you are giving a thumbs up or hitchhiking.
Step 2: Place the rim of the disc on your thumb so it sits in the crack where the rim meets the top plate of the disc. That crack is almost a 90 degree angle, and it is where all the control lives. Push the top of your thumb, where your nail is, into that crack. That is your anchor point.
Step 3: Orient the disc so the top plate faces your body. You should not be able to see your thumb because the disc is between you and your hand.
Step 4: With your fist (thumb pointing up), start making small circular rotations. Counterclockwise is easier for most people, but clockwise works too. Start with a slightly bigger circle and then tighten it down to about a quarter sized circle.
Step 5: The disc begins to travel around your thumb like a hula hoop. It moves from vertical toward horizontal as it picks up momentum. You do not have to do it hard. It is surprisingly easy on the thumb.
You should be able to sustain this for a very long time on your thumb. Minutes. The thumb is not the primary strengthening target. This is about learning the motion and understanding the concept.
To strengthen the thumb specifically, spin it faster. Faster spin puts more centripetal force on the thumb. It will feel like the disc is about to pop off the top. You are balancing between not too fast (it flies off) and not too slow (it is too easy). Push yourself toward the edge where it almost flies off. That is where the strengthening happens.
Thumb progression:
→ Dominant hand thumb, get comfortable with the motion.
→ Non dominant hand thumb, see if you can match the duration.
→ Two discs at the same time, one on each thumb, spinning simultaneously. See if your non dominant hand can last as long as your dominant hand.
Level 2: The Index Finger
Same concept as the thumb but harder. Your index finger is longer and thinner, so the disc has farther to travel and more opportunity to wobble out.
Stick your index finger into the crack where the rim meets the top plate. Here is the key: place your thumb close to your index finger, about one inch below the tip, to anchor and support it. You are not gripping the disc with your thumb. You are bracing your index finger so it stays rigid and strong as the disc rotates around the top.
Start the circular rotations and let the disc hula hoop around your index finger. Time yourself.
The index finger is a key part of the flick forehand grip. Strengthening it here directly improves your flick power. This is not abstract training. This is the exact finger doing the exact type of work it does during a throw.
Timing benchmarks:
→ 30 seconds: you are getting the hang of it.
→ 1 minute: starting to feel the pull.
→ 45 seconds and up: you will definitely feel the muscles in your wrist and down along your arm.
→ 3 minutes: serious burn. Real strengthening is happening.
→ 5 minutes: elite level endurance.
That burn is the point. This is weight training for your throwing fingers. Push until the disc flies out or you cannot take it anymore, then rest.
Level 3: The Middle Finger
Exact same technique as the index finger. Thumb anchors about one inch below the tip of the middle finger for support. Spin the disc on the middle finger. Same timing goals, same burn, same push yourself mentality.
The middle finger is arguably the most important finger for the flick. It is the last finger to touch the rim on release, and it is where the final snap of spin comes from. Every second of Hula Hoop time on your middle finger is direct investment in your most critical throwing mechanic.
Level 4: The Ring Finger
Same technique. Significantly harder. The ring finger is weaker than the others and most people will tell you that you do not need to train it.
I disagree. I use three fingers on my flick instead of two. My ring finger is part of my grip. Strengthening it matters. Your duration will be shorter on the ring finger and that is fine. The same rules apply: push it, time it, build it over weeks and months.
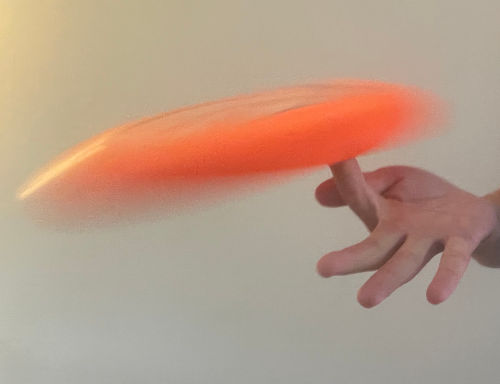
The Key Variation: Vertical Spinning
Everything above describes horizontal spinning, where your finger points up and the disc hula hoops horizontally around it. That is the starting point.
Now turn your finger sideways.
Keep the disc spinning, but instead of horizontal, the disc is now spinning vertically. Your finger points to the side instead of up. This is the variation that I do on the field, walking around, talking to people, anytime I have a disc in my hand. It looks cool. And it is significantly harder.
Why? Because gravity is now pulling the disc off your finger much more aggressively. Horizontal spinning works with gravity. Vertical spinning fights it. It is like adding five extra pounds to whatever exercise you were doing.
The key to making vertical spinning work is the hook. With your index finger, middle finger, or ring finger, you can curl the tip of your finger into a hook shape that catches into the crack where the rim meets the top plate. That hook is what keeps the disc going despite gravity's constant pull. You cannot hook your thumb well enough for vertical spinning, so this starts on the index finger.
Finger Switching
Once you can sustain the vertical spin on individual fingers, start switching between them without stopping the disc.
Start on your index finger for 30 seconds to a minute. Then without stopping the spin, switch to your middle finger. Then to your ring finger. Then back to middle. Then back to index. The ring finger is the weakest and hardest to switch to, so in the beginning just focus on switching between index and middle and back.
This gives each finger a rest while keeping the disc spinning. You can sustain the drill for much longer this way while still pushing the muscles in your arm and wrist. It becomes a flowing, continuous exercise instead of short bursts.
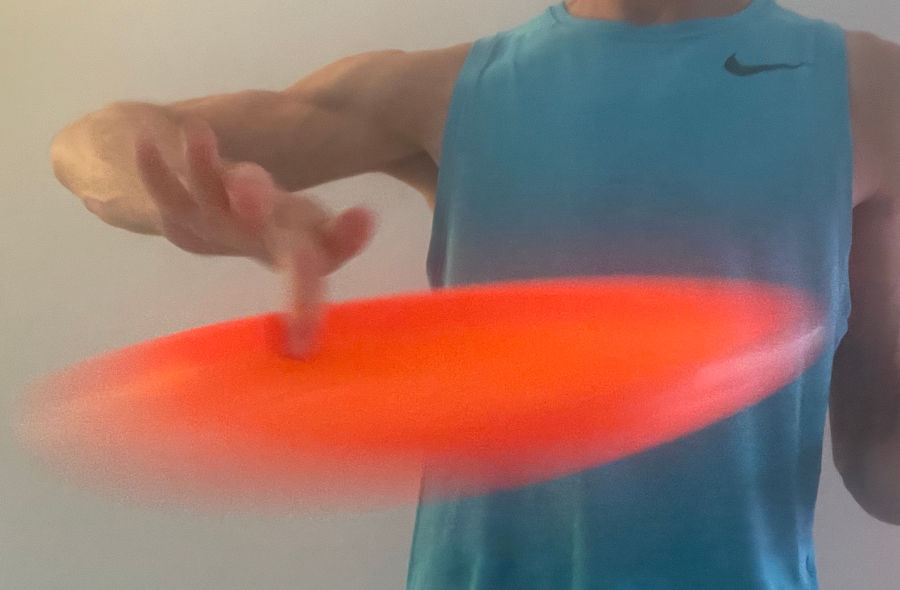
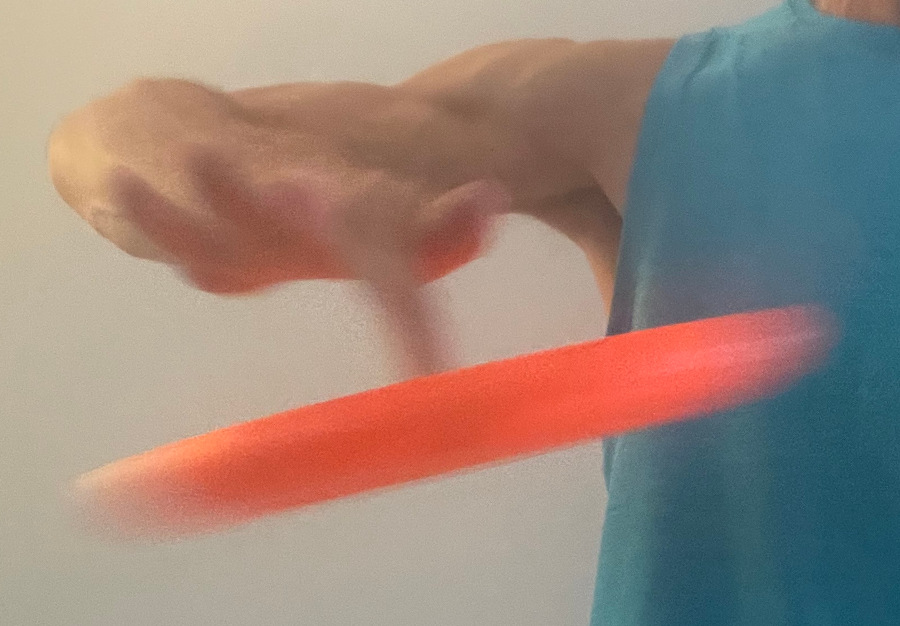
The Leg Save
When spinning vertically, the disc will get loose. Your finger gets tired, the hook weakens, and the disc starts to wobble out of control. Here is how you save it.
Spin near your hip, close to the side of your upper leg. When you feel the disc getting wobbly, push your finger and the disc into your leg. This immediately stops the rotation and gives you full control. No crash, no flying disc, no noise. You just press it against your leg, reset, and start again.
This is why you practice near your hip instead of out in front of your body. Your leg is always right there as a safety net. When you are spinning a disc in each hand, both near your hips, you can independently save either one by pressing it to your leg.
The Up and Down Movement
Once you are comfortable spinning vertically near your hip, start moving your hand up and down while the disc keeps spinning.
Bring your hand up slowly. Then down slowly. What happens is remarkable: you learn to move your hand in coordination with the pace of the disc's revolutions. You develop a natural sense of how the spin momentum helps or resists the hand's movement.
The disc will pop out at first. Guaranteed. But once you feel that coordination, you can move your hand all the way up above your head and all the way down to your knee, all while the disc hula hoops on your finger. Sometimes slow, sometimes quick. It is all about learning to control spin while your hand is in motion, which is exactly what happens during a throw.
The Double Disc Stack
Take two UltraStar Soft discs and nest one inside the other. This creates a super heavy disc, roughly double the normal weight.
Spin the stacked pair on one finger. You might get one or two revolutions before they start to separate, but even one revolution with that much weight is serious muscle training. It is the difference between doing 10 reps with 5 pounds versus one rep with 50 pounds.
You can only do this with the soft discs because the rubbery silicone material grips together and stays nested. Standard hard plastic discs are too slippery and slide apart immediately. This is one more reason the soft discs are essential training gear.
Master Level: The Inverted Spin
This is the hardest variation of the Hula Hoop Drill and the ultimate test of finger strength.
Start with the disc spinning vertically on your finger like a blade. You are comfortable. The hook is solid. Now, without stopping the spin, continue adding force and rotate the disc so it turns completely upside down. The top plate is now facing the ground. Your finger is above the disc, hooked into the crack, and gravity is pulling the full weight of the disc straight down off your finger.
This is the maximum amount of tension you can put on a single finger with a disc. There is no variation that creates more force. Your finger hook has to be incredibly strong to keep the disc in that crack while it spins upside down. Every muscle fiber in your finger, wrist, and forearm is firing at full capacity just to keep it going.
To give you perspective, I can only hold the inverted spin for about 30 seconds on my middle finger and index finger. That is it. It is the most difficult, most taxing, most muscle stressful version of the Hula Hoop that exists. And 30 seconds of this will burn more than three minutes of regular vertical spinning.
If you can master the inverted spin and hold it for a minute or longer, your finger strength will be in a class by itself. Your flick will have power that other players cannot figure out. And it looks absolutely incredible when someone sees you spinning a disc upside down on one finger like it is nothing.
Progression:
→ Start from a comfortable vertical spin on your index or middle finger.
→ Gradually tilt the disc past vertical toward inverted. Feel the gravity pull increase.
→ Try to hold the full inverted position for 10 seconds. Then 20. Then 30.
→ Once you can hold 30 seconds, you are at an advanced level that very few players ever reach.
Two Discs Simultaneously
One disc in each hand, spinning at the same time, at the same pace. This is where you discover the gap between your dominant and non dominant hand. Your right hand will be smooth and steady. Your left hand (if you are right handed) will wobble, struggle, and fly off sooner.
That gap is what you are training to close. Every session, your non dominant hand gets a little steadier. A little stronger. A little closer to matching the dominant hand. And that progress translates directly to ambidextrous throwing ability.
Fit It Into Your Life
The Hula Hoop Drill is not something you schedule. It is something you fit into the cracks of your daily routine.
Spin it while you are on a phone call. Spin it while you are watching TV. Spin it while you are waiting for something on your computer. Spin it while you are driving with your free hand on a straight road. Spin it while you are walking somewhere.
One minute on your index finger. Switch to your middle finger. Try your ring finger. Switch hands. You just got five minutes of targeted finger strength training without setting aside any dedicated practice time.
The more you weave the Hula Hoop into your daily life, the more reps accumulate. And those reps compound. In a month, your finger strength will be noticeably different. In three months, your flick will be noticeably different. In six months, people at pickup will start asking what you did to improve so much. And the answer will be a drill you did while making coffee.
The Palm Spinner
The Palm Spinner is a two handed drill that builds thumb control, finger coordination, and disc manipulation skills. It looks really cool when you get it flowing and it gives you a completely different kind of disc feel than the Hula Hoop.
Starting position: Set the disc in your non dominant hand's palm. The disc rests flat on your open palm.
The spinning hand: With your dominant hand, place your four fingers on the top of the disc, on the rim and the top surface. Your thumb goes on the very bottom of the rim, touching at a very distinct point on the very tip of your thumb.
The motion: Use all four fingers and your thumb at the same time to rotate the disc while it sits in the palm of your other hand. You are spinning the disc around your thumb as the axis point. Your fingers and thumb work together to drive the rotation. It is similar to the Kerfuffle in concept, but the disc stays in your palm the entire time.
The safety catch: If you need to, collapse your palm and lock the disc down between your thumb and your fingers. This prevents it from dropping. You can snap it tight at any moment.
When you get this flowing, it looks really impressive. The disc spins in your palm, your fingers driving it around, your thumb as the pivot point. Smooth and controlled.
The hard progression: Switch hands. Set the disc in your dominant hand's palm, and use your non dominant hand to spin it. This is significantly harder because your non dominant fingers lack the coordination and strength to drive the rotation smoothly. The disc will fall out of your hand easily. But that is the challenge. And every time you catch it before it drops, you are building the quick reflexes and finger awareness that translate to game situations.
Do this with both hand combinations. It builds a kind of two handed disc manipulation skill that nothing else replicates.
The IO Bicep Curl
This drill is all about stretching and strengthening the inside out flick motion without ever releasing the disc. It targets the muscles and flexibility needed for an IO flick, and when it clicks, you will feel exactly how your body position multiplies your finger power.
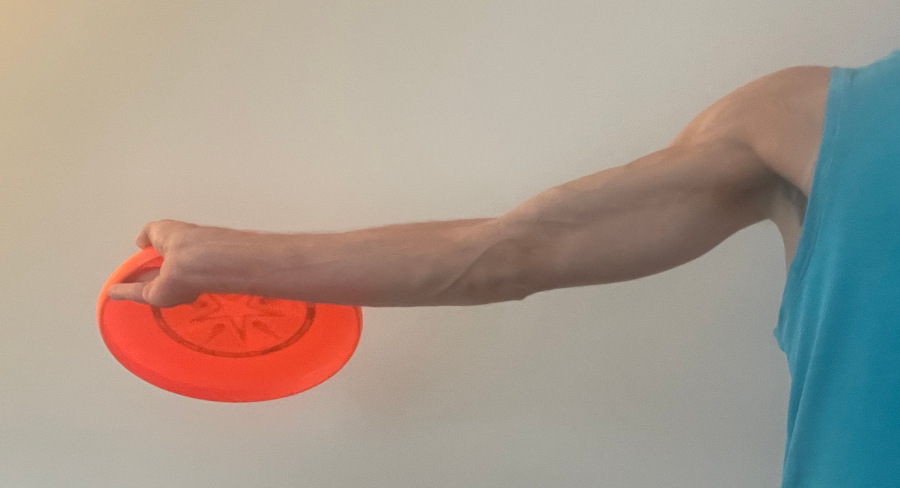
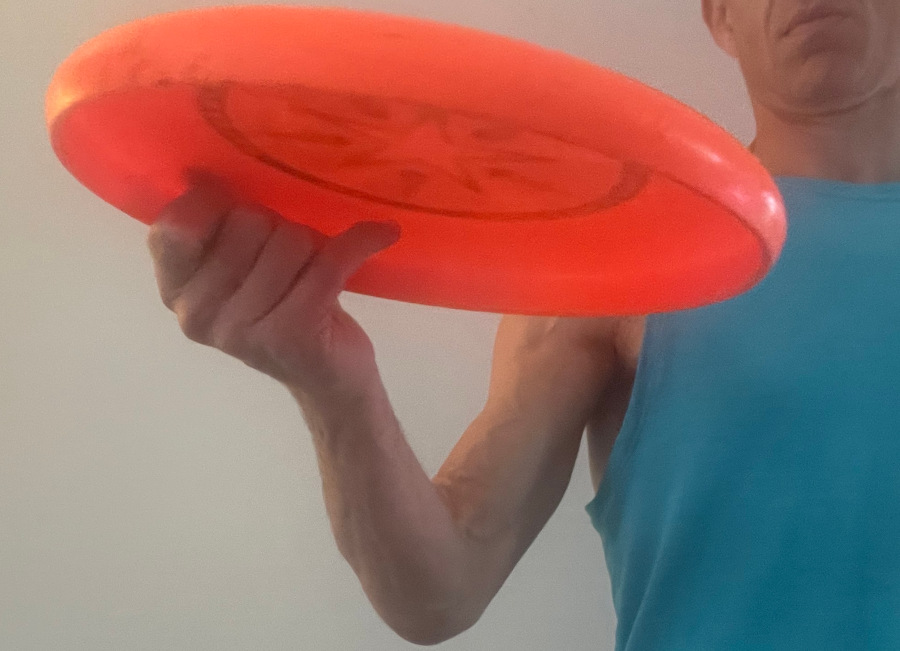
Starting position: Hold the disc in your flick grip with the bottom of the disc facing your body and the top of the disc facing outward. Your thumb is on the top of the disc. Your fingers are in flick position on the rim. The disc starts down by your hip.
The coil: Cock your wrist back as far as it will go. This is a stretch. You can even move your entire arm back to extend the range. The further back you can stretch, the more range of motion you are building. This flexibility directly translates to how far you can coil before an inside out flick.
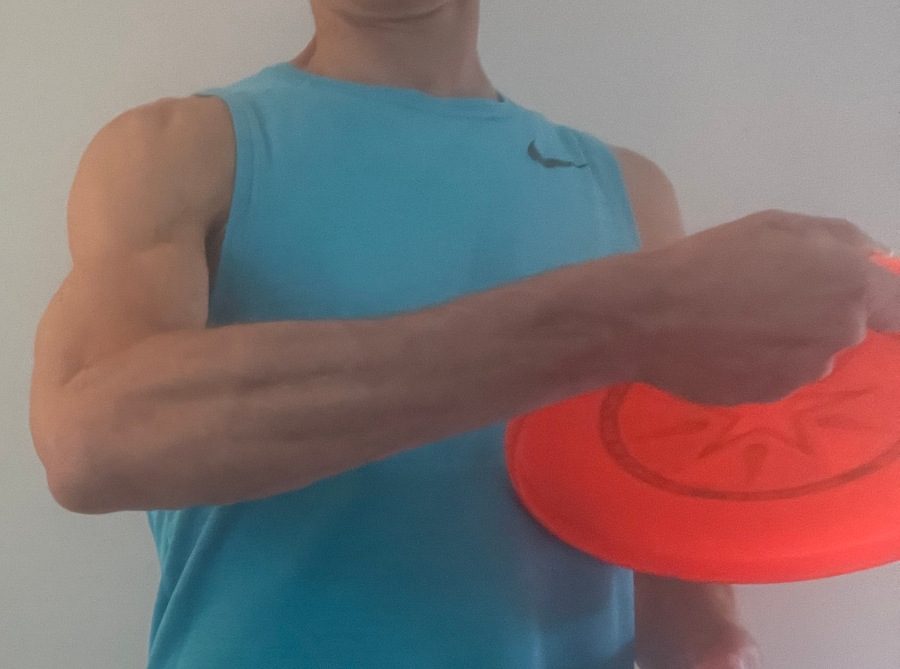
The curl: Bring your arm forward. Bring your wrist forward. Bring the disc forward. And keep going. Curl your bicep up so that the disc travels all the way over the top of your forearm. Bring your elbow in so the disc ends up on the outside of your shoulder. The rim should almost touch your shoulder at the peak of the curl.
The uncoil: Reverse the motion. Uncoil your arm back out, extending through the wrist, back to the starting position down by your hip.
The rhythm: Coil it up. Uncoil it back. Coil it up. Uncoil it back. Over and over, very quickly. Do reps of 20 to 30 per hand.
The critical detail: The disc has to clear your forearm. If the disc hits your forearm on the way over, you are not stretching your wrist far enough and your fingers are not gripping the rim firmly enough. The disc must travel past your forearm as you curl your bicep up so it reaches the outside of your shoulder. This is hard at first. Go slowly. Keep your fingers on the rim. Bend your wrist further. It will feel like the disc does not want to go past your arm, but it will with practice.
Why this matters: The IO Bicep Curl teaches your body how arm position amplifies finger power. When you throw an inside out flick in a game, the power does not come from your fingers alone. It comes from the coil of your wrist, the extension of your arm, and the snap of your fingers all working together. This drill builds that entire chain without releasing the disc, so you can do hundreds of reps anywhere.
The Eagle Slash
Before we get into the Eagle Slash, let's make sure you understand the flick grip and the webbing.
The flick grip: you can either place your index and middle finger in the crack of the disc (the standard two finger grip), or use what I call the stabilizer method. Stretch your index finger out so it touches the middle of the underside of the disc for stability, then put your middle and ring finger in the crack. Use whatever feels comfortable. Both work.
The webbing: the soft skin between your thumb and index finger. When the disc is in a ready throwing position, it tucks into that webbing. Think of it as the launch pad. The disc sits there loaded and ready to fire. These next drills train you to get the disc in and out of that webbing fluidly.
Now imagine you have eagle wings and you are pushing them together.
Hold the disc in your flick grip. Cock your wrist all the way back. Then slash forward horizontally, simulating a full power flick forehand. But do not release the disc. The disc moves out of the webbing during the forward slash, and then you cock it back and the disc tucks back into the webbing in striking position.
Repeat. Over and over. Forward slash, snap back. Forward slash, snap back.
Use two discs, one in each hand, slashing forward and back simultaneously. I do reps of 20 to 30 per hand. Really pretend you are going to throw it far. Put power into the motion. But control it so the disc does not fly out of your hand.
The most important thing this drill trains is getting the disc back into striking position. Every time you slash and retract, your hand learns to automatically find that locked, loaded position in the webbing. In a game, this happens in a fraction of a second. You catch a disc and your hand already knows how to get it ready to throw. That is the instinct you are building.
The Hammer Slash
Same exact motion as the Eagle Slash, but vertical. Instead of slashing horizontally like a flick, you slash vertically over your shoulder like a hammer throw.
Slash overhead, the disc moves out of the webbing. Snap it back, the disc tucks into striking position. Repeat. 20 to 30 reps per hand. Put power into it. Control it.
You are simulating the hammer throw motion without releasing. Every rep builds the muscle memory for that overhead release point and trains your hand to recover the disc into a ready position instantly.
The Flick to Backhand Flow
This is a variation that uses one disc and alternates between the flick and backhand grips in a continuous motion.
Start in flick grip. Slash forward like an Eagle Slash. As the disc comes back, let it transition into a backhand grip. Push that forward as if throwing a backhand. Do not release. It naturally returns to a flick grip. Push forward as a flick. Back to backhand. Flick. Backhand. Flick. Backhand.
You are getting reps for both throws in one continuous flowing motion. Put some power into it but control it so the disc does not escape. Do this 100 times and you will feel the disc transitioning between grips with less and less effort each time. That fluidity is the goal.
Between the Legs Crossover
Think basketball crossover, but without the bounce.
Spread your legs. Pass the disc from one hand to the other between your legs. Front to back. Switch hands. Front to back again. Or back to front. Both directions, both hands.
This is simple. It is supposed to be simple. The point is total body control of the disc. Wherever the disc goes on your body, you own it. You can move it anywhere and quickly get it back into a striking position.
Behind the Back Crossover
Even simpler than between the legs. Pass the disc from one hand to the other behind your back. Back and forth. Left hand to right hand. Right hand to left hand.
Like the between the legs crossover, this builds overall disc comfort and body awareness. The disc should feel natural in your hands no matter where it is relative to your body.
Create Your Choreography
Now put it all together.
Hula Hoop on your index finger for 30 seconds. Switch to a Palm Spinner, five quick rotations. IO Bicep Curl, ten reps each side. Eagle Slash, five quick reps. Behind the back crossover, three times. Hammer Slash, five reps. Between the legs, three times. Back to the Hula Hoop on your middle finger.
That is my sequence. Yours should be different. Make it yours. Make it flow. The more it feels like a routine you enjoy, the more you will do it. Practice it in front of a mirror. Film yourself and watch it back. See where you look smooth and where you look mechanical. Over time, the mechanical parts will smooth out until the whole sequence flows like a martial arts form.
This is not about perfection. It is about fluidity. It is about never feeling awkward with a disc in your hands. And it is about building an instinctual relationship with the disc that you carry onto the field without thinking about it.
The Kerfuffle
If you have read this far and practiced everything above, you are ready for the hardest move in this chapter. The Kerfuffle is a bridge between the hold the disc drills and the release drills coming in the next chapter. The disc kind of leaves your hand, but kind of doesn't. And it looks incredibly cool when you can do it.
Be patient with this one. It took me a couple of days of practicing it 100 times per day before I could do it reliably. Now I can do 9 or 10 in a row fairly consistently, but I still drop it regularly. It is genuinely difficult. But once it clicks, it is by far the coolest looking individual solo drill you can do.
Starting position: Hold the disc upside down. The rim is facing up. Your thumb is on the bottom of the disc (which is now facing up toward the sky). Your four fingers are on the top of the disc (which is now facing down toward the ground). Everything is inverted from how you normally hold a disc.
The motion: Rotate your wrist quickly clockwise. As you rotate, lift your four fingers off the disc. The disc flips and travels around your thumb in a full 360 degree spin. Your thumb stays as the axis point. The disc never fully leaves the thumb area. Then snag it with your four fingers as it comes back around. You might tuck your thumb back slightly to let it spin freely, then put your thumb back in to grip it between the four fingers and thumb again.
The repositioning: After each catch, you need to slide the webbing back up the disc about an inch to get back into the starting position. Then do it again. Spin, catch, reposition. Spin, catch, reposition.
A video is essential for learning this one. The text gets you the concept, but watching it demonstrated is what makes it click. Check the video link for this chapter to see the Kerfuffle in action.
Why bother learning something this hard? Because beyond looking impressive, the Kerfuffle builds rapid grip awareness, wrist rotation speed, and catch reflexes. In a game, the disc sometimes arrives in an awkward position and you need to secure it and get it into a throwing grip fast. The Kerfuffle trains exactly that kind of quick hands recovery.
Switching Hand Positions
Lastly, one important thing you need to try is to change the position of your hand after you catch the disc with only that one hand. Please watch the below video:
As you master your own moves, increase the pressure by changing grips in mid air with only one hand. This is important for being able to quickly catch one way (thumb on top of the disc OR under the disc) and then quickly change grips so you can throw either a backhand or forehand, depending on which is open.
Wrap Up
◆ These drills are your disc kata. You never release the disc. You build strength, flexibility, and instinct with the disc physically in your hand.
◆ The Hula Hoop Drill is the most important solo drill in this entire book. How long you can sustain it on your middle finger directly predicts your flick quality.
◆ Start on your thumb (easiest), progress to index, middle, and ring finger. Master horizontal first, then go vertical.
◆ Vertical spinning on your index and middle finger is the most underrated drill in Ultimate. It fights gravity and builds strength faster than horizontal spinning.
◆ The Palm Spinner builds two handed disc manipulation and thumb control. Practice it with both hand combinations.
◆ The IO Bicep Curl builds inside out flick flexibility and strength. The disc must clear your forearm on every rep.
◆ The Eagle Slash and Hammer Slash train the transition into striking position. The disc locks into the webbing between your thumb and index finger, ready to fire.
◆ Between the Legs and Behind the Back crossovers build total body disc comfort.
◆ Create your own choreography. String the drills together into a flowing sequence that you enjoy and practice regularly.
◆ The Kerfuffle is the hardest and coolest looking drill. It bridges into the release drills in the next chapter.
Action Steps
→ Right now, grab a disc and try the Hula Hoop on your thumb. Get comfortable with the motion. Then try your index finger with the thumb anchor. Time yourself.
→ This week, practice the vertical Hula Hoop for one minute per finger, per hand, every day. Time yourself and track your progress.
→ Try the Palm Spinner with both hand combinations. See which side is harder.
→ Do 20 IO Bicep Curls per hand. Focus on getting the disc to clear your forearm on every rep. Stretch your wrist further if it keeps hitting.
→ Learn the Eagle Slash and do 20 reps per hand. Focus on the disc locking back into the webbing each time.
→ Create a 60 second choreography that strings together at least four drills. Practice it in front of a mirror.
→ Attempt the Kerfuffle. Just 10 tries. Do not get frustrated. It takes days to click. But start the process now.
Mentor's Closing
A martial artist does not become dangerous by learning one punch. They become dangerous by practicing hundreds of movements until each one is instant, fluid, and automatic. That is what these drills do for your disc skills.
The Hula Hoop builds the strength. The Palm Spinner builds the manipulation. The IO Bicep Curl builds the stretch. The slashes build the transitions. The crossovers build the comfort. And the Kerfuffle builds the flair. Put them all together, create your own flow, and practice it every day.
When you step on the field and the disc arrives in your hands, your body will already know what to do. Not because you thought about it. Because you trained it. Hundreds of times. In your living room. With nobody watching.
That is how legends are built. :)